Hi everyone!
Have you ever thought of giving paper crafting a try but don’t know where to begin? How about some cards to have on hand for the special people in your life? Or gift packaging, tags and albums? A stamp, some ink, pretty paper and ribbon ~ you’ve got a great start! Stampin’ Up! products are created to coordinate together beautifully. Or maybe you would like to build up your existing Stampin’ Up! supplies? You can do either of these easily by ordering from Stampin’ Up! using a Host Code. This code lets you shop with me online and your order is sent directly to you. If you reside in Canada and do not currently have a Stampin’ Up! demonstrator, I would love to be your demonstrator or answer any questions that you may have. If you live outside of Canada, you may go to the Stampin’ Up! website to locate a demonstrator near you.
In future blog posts when current Stampin’ Up! products are used, the item/page numbers will be included in case anyone is interested in them. I will be posting monthly host codes as well as information on new products, sales and promotions as they become available. 
★Plus, in the next few days there will be a post with the 2023 ~ 2024 SU Designer Series Paper {DSP} color coordinating lists for the annual catalogue and the new mini catalogue so get ready for that! 🙂
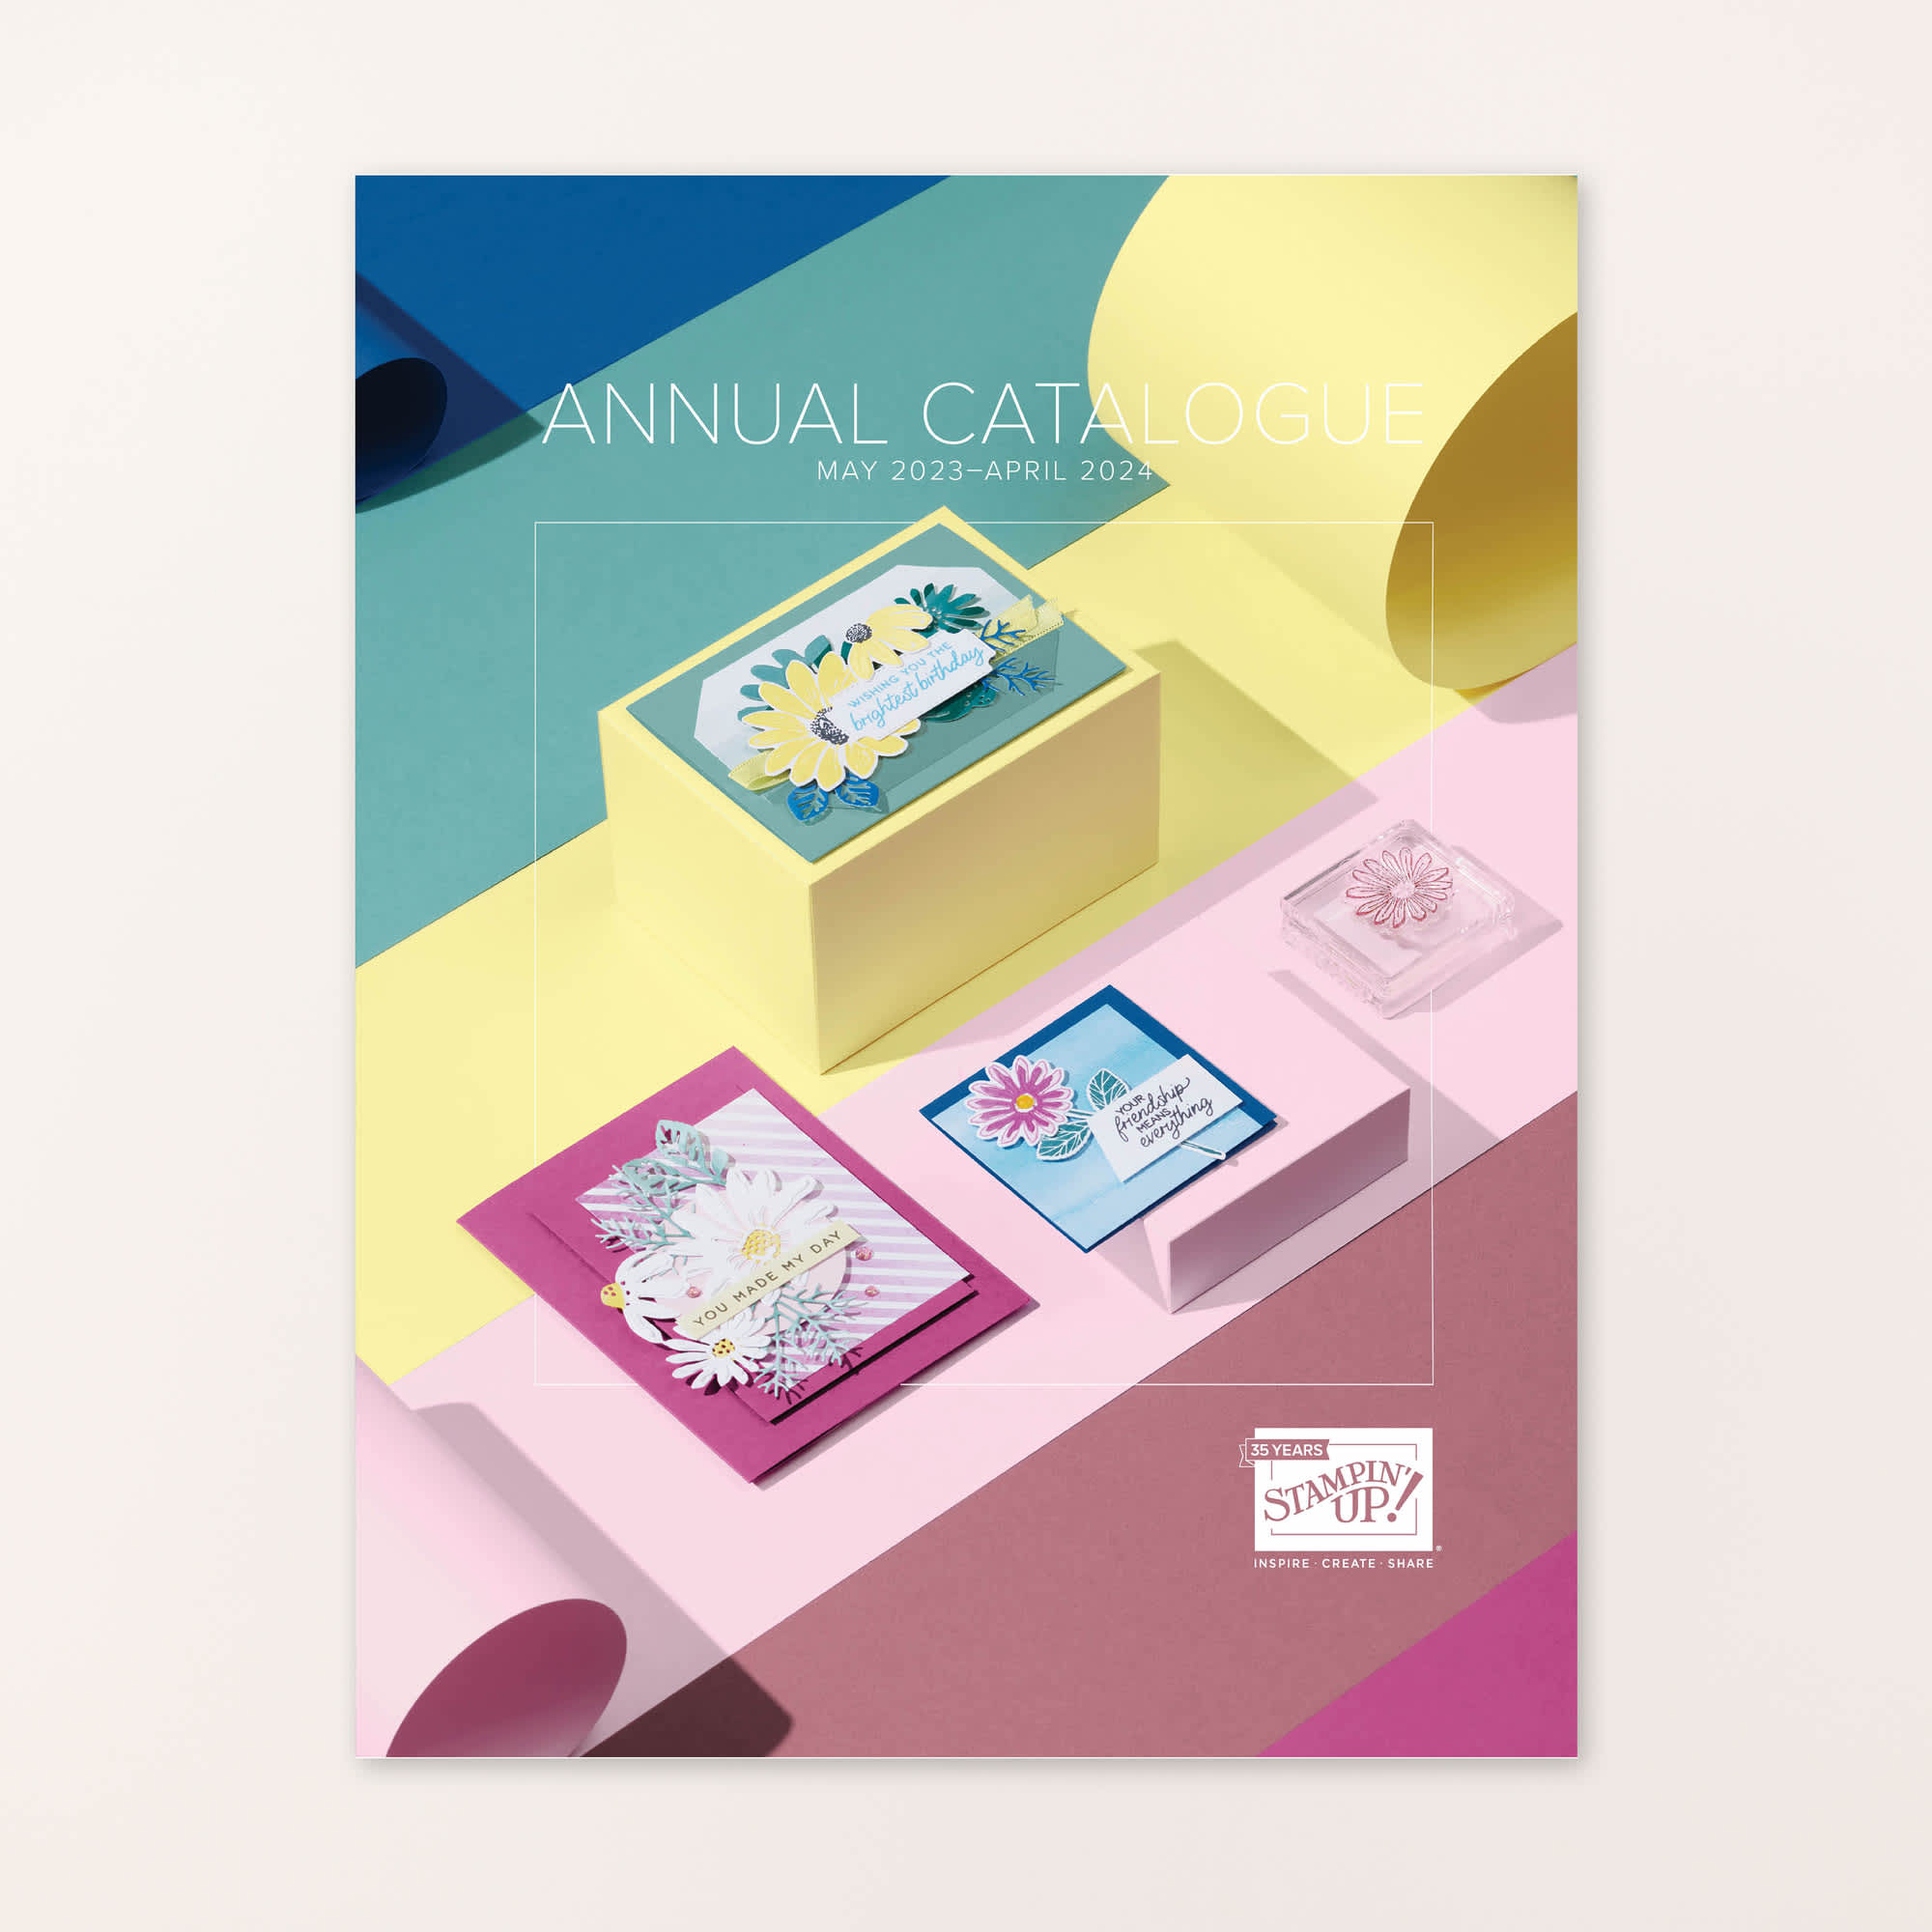
2023–2024 Annual Catalogue

Mini Catalogue —> January-April 2024
Use the February Host Code —> ETXVCUE3 if you would like to place an order from February 1/24 – February 29/24. Once the host code is entered, it will tell you that you are shopping with me, Erin Leech {up at the top left of your screen}. Orders may include products from the annual catalogue and the January–April 2024 mini catalogue as well as clearance rack items. Online shopping is a great way to get your Stampin’ Up! products from the safety and convenience of your home! The Stampin’ Up! online store is open 24/7. All orders are shipped directly to you from Stampin’ Up! and a courier will deliver your package right to your door.
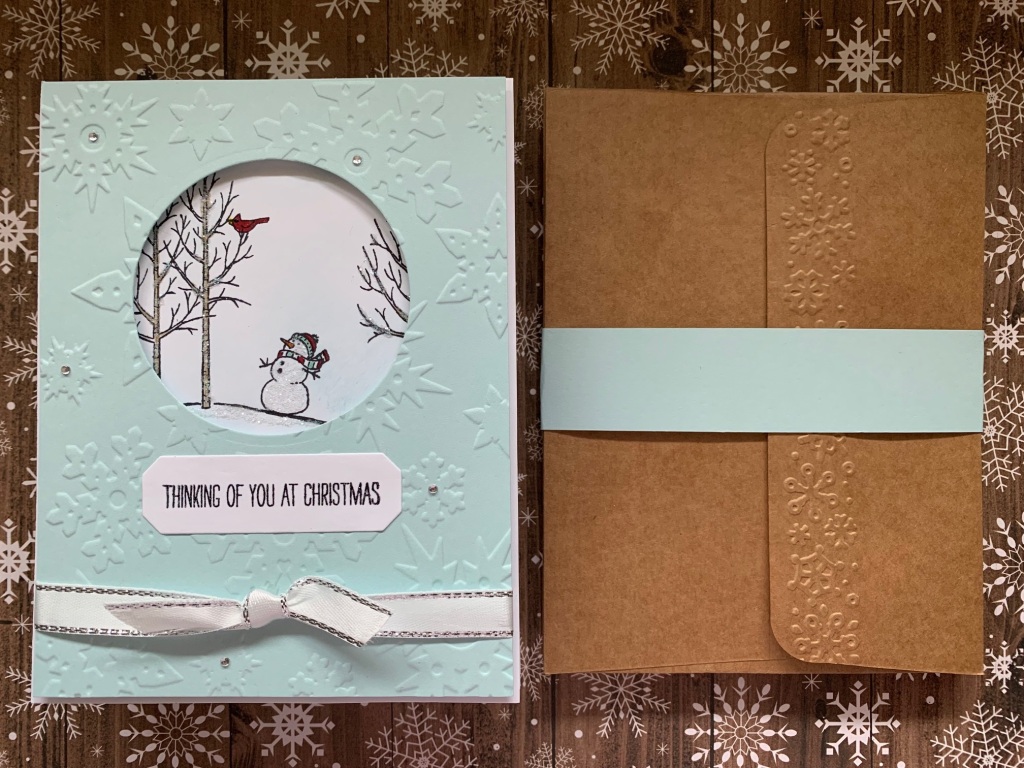
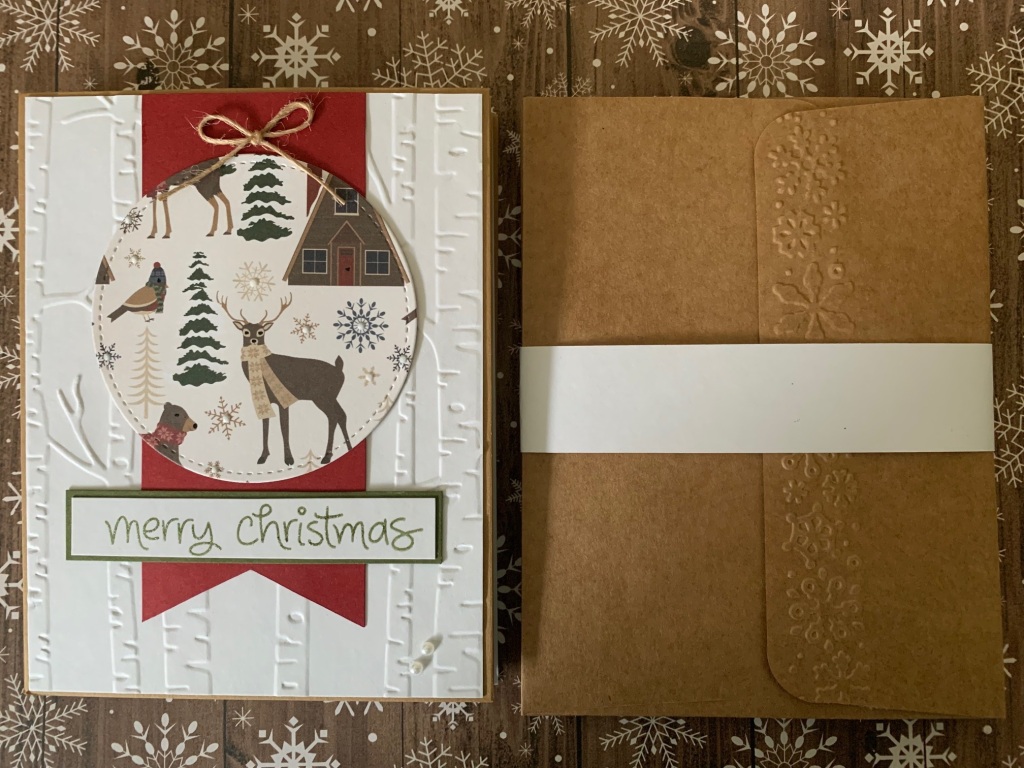
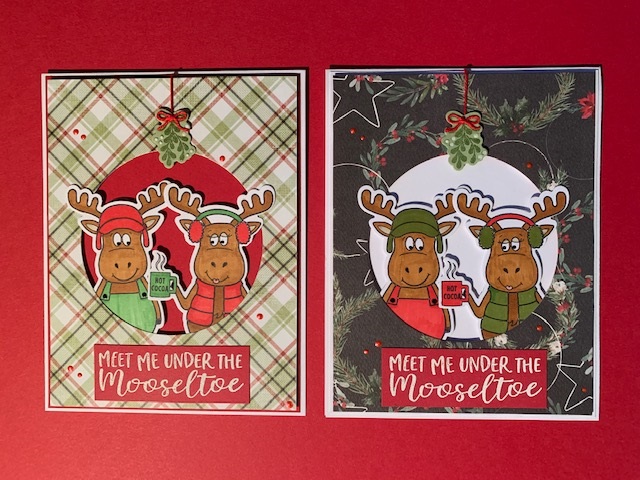
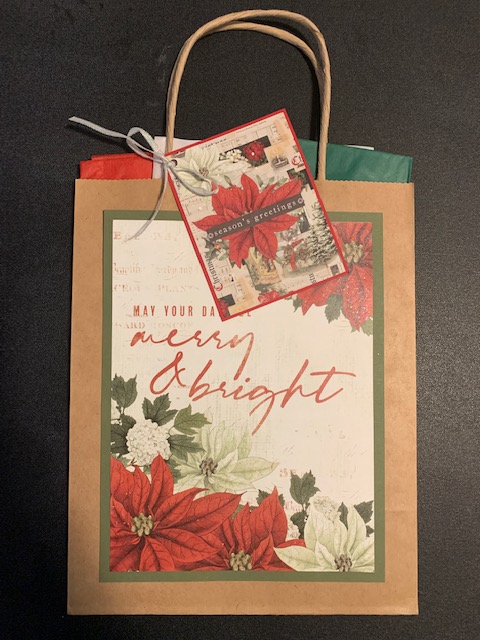
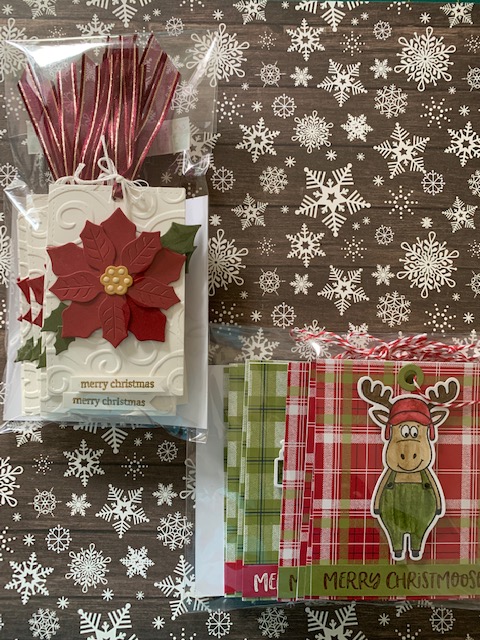
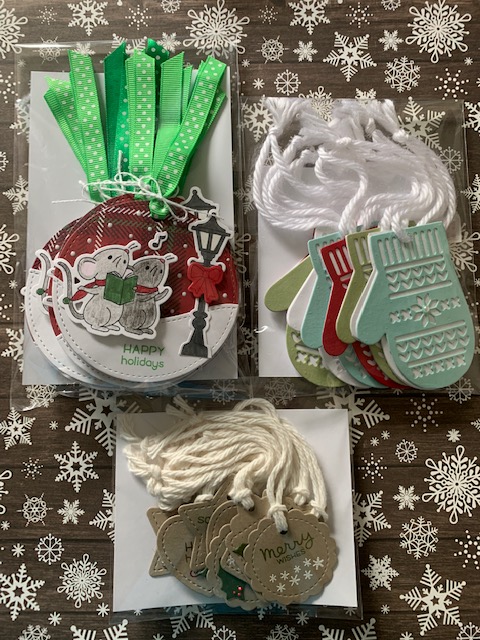
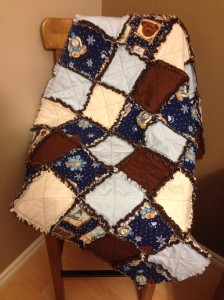
Plus, when you use the host code of the month, you will receive a free card kit or gift in the mail from me. ★Please note: the card kit is for 1 card and will not have any stamped images {that is not permitted}. You will need adhesive and the stamp set/ink pads if you wish to recreate the exact design but feel free to use any stamp set/ink pads that you may already have. *A picture + envelope is included in your kit.
★Please note:
- A new host code will be posted on the 1st day of each month for you.
- Online orders process and ship right away so you don’t have to wait until the host code is closed at the end of the month to receive your order.
- All of the prices are the same online as they are in the current catalogues.
- Scroll down to the bottom of this post for details on ordering online.
- The cards and “thank you” gifts are sent out at the end of the month when the host code closes.
http://www.stampinup.ca
Or
Contact me if you would like to receive a current Stampin’ Up! catalogue.
Here is how the Host Code works:
- If your order is less than $200.00, please use the Host Code shown above. Your order will be processed and shipped to your address.
- If your order is more than $200.00 {before tax and shipping}, please do not use the Host Code as you will miss out on Stampin’ Rewards if you use it. Stampin’ Up! views orders over $200.00 as a workshop order and applies hostess product credit to your cart at checkout. Stampin’ Rewards start at $20.00 and you don’t want to miss out on those! Your order will be processed and shipped to your address.
STAMPIN’ REWARDS PROGRAM
This chart shows you the reward amounts you can earn based on order totals. In a party setting, Stampin’ Rewards go to the host and are calculated on the total party sales. Outside of the party setting, Stampin’ Rewards are available to customers when they place individual orders that meet the order totals shown below.
*ORDER TOTAL **STAMPIN’ REWARDS ***50% OFF ITEM
$200 10% _
$375 12% _
$550 14% 1
$725+ 16% 1
*Before shipping & handling.
**Stampin’ Rewards cannot be used on a 50%-off item.
***50%-off item applies to the purchase of full-priced products and discounted stamp/tool bundles only. Suite collections, the standard size Stampin’ Cut & Emboss Machine and Paper Pumpkin Prepaid Subscriptions do not qualify for the discount.
Don’t forget ~ from January 4/24 until February 29/24, choose 1 FREE level 1 Sale-A-Bration item with each $60.00 ordered {before shipping/tax}. For every $120.00 ordered {before shipping/tax}, you’ll be able to choose 2 FREE level 1 Sale-A-Bration items or 1 FREE level 2 Sale-A-Bration item from the Sale-A-Bration catalogue. That means it’s the perfect time to purchase the products you’ve had your eye on while earning products for free!
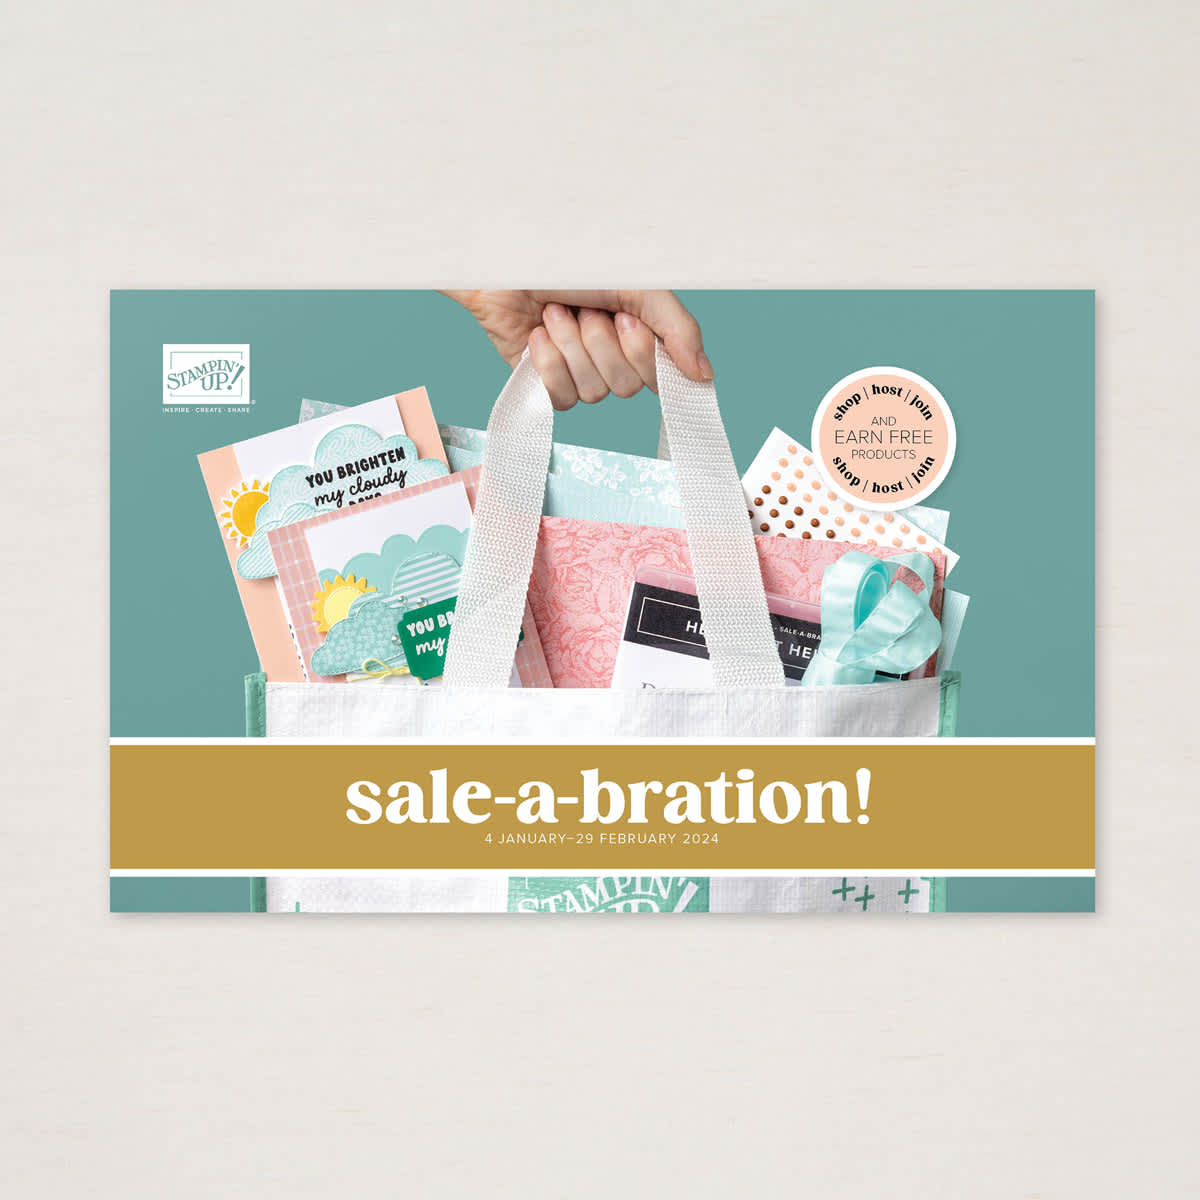
SALE-A-BRATION —>Jan.4/24-February 29/24
There are some great perks to joining my team during Sale-a-Bration!
Sale-A-Bration is an great time to join Stampin’ Up! In addition to the already excellent value of the Starter Kit, if you decide to sign up as a Stampin’ Up! demonstrator during Sale-A-Bration, you can choose from two incredible options that include FREE shipping:
- Option #1: Customers who join our fun crafting community as a new demonstrator can get $165.00 CAD worth of product PLUS the Stampin’ Glass Mat Studio (an $82.00 CAD value) for just $135.00 CAD!
- Option #2: Customers who want to join Stampin’ Up! during Sale-A-Bration but are interested in a different join option can instead get $165.00 CAD worth of product PLUS an additional $41.00 CAD worth of product of their choice when they join for $135.00 CAD. That’s a $206 CAD value!
You also receive:
- business supplies and a free Paper Pumpkin kit.
- Plus, a minimum of a 20% discount on future purchases for yourself or that you sell to friends, family and other customers. Remember, by becoming a Stampin’ Up! demonstrator, you’ll save on supplies for your paper crafting hobby or turn it into a successful business. The choice is yours! This is the perfect time to join the Stampin’ Up! family.
★Please note: If you are interested in placing an online order, I encourage you to set up an online customer account which will make the ordering process easier for you. I am happy to provide the steps to create a customer online account with Stampin’ Up!. Below are the steps to create your account:
- Go to http://www.stampinup.com/home/en-CA/
- Click on the drop-down box at the top, right-hand side of the screen and choose your country and language
- Click on Store
- Click on Create Account
- Complete the required fields for your email address, password, security questions, and address
- Choose a demonstrator using the Demonstrator Directory… search for me… Erin Leech, Carstairs, Alberta.
★Keep in mind that this is your personal online customer account and that for security reasons, Stampin’ Up! does not have access to your password, and can’t make changes to your account on your behalf. Of course they will be happy to walk you through the process if needed.
I hope this helps!
*Please feel welcome to sign up as a follower to receives updates by email so you don’t miss a thing!
Until next time,
Erin
The Country Touch
Website: http://www.thecountrytouch.weebly.com
Email: ctrytcherin@gmail.com